Project
Date Created
Author
Tools & Skills
sewingbernettefabric
[CoF] Careers of the Future
Launch Lab Connection
Competency
Status
Complete
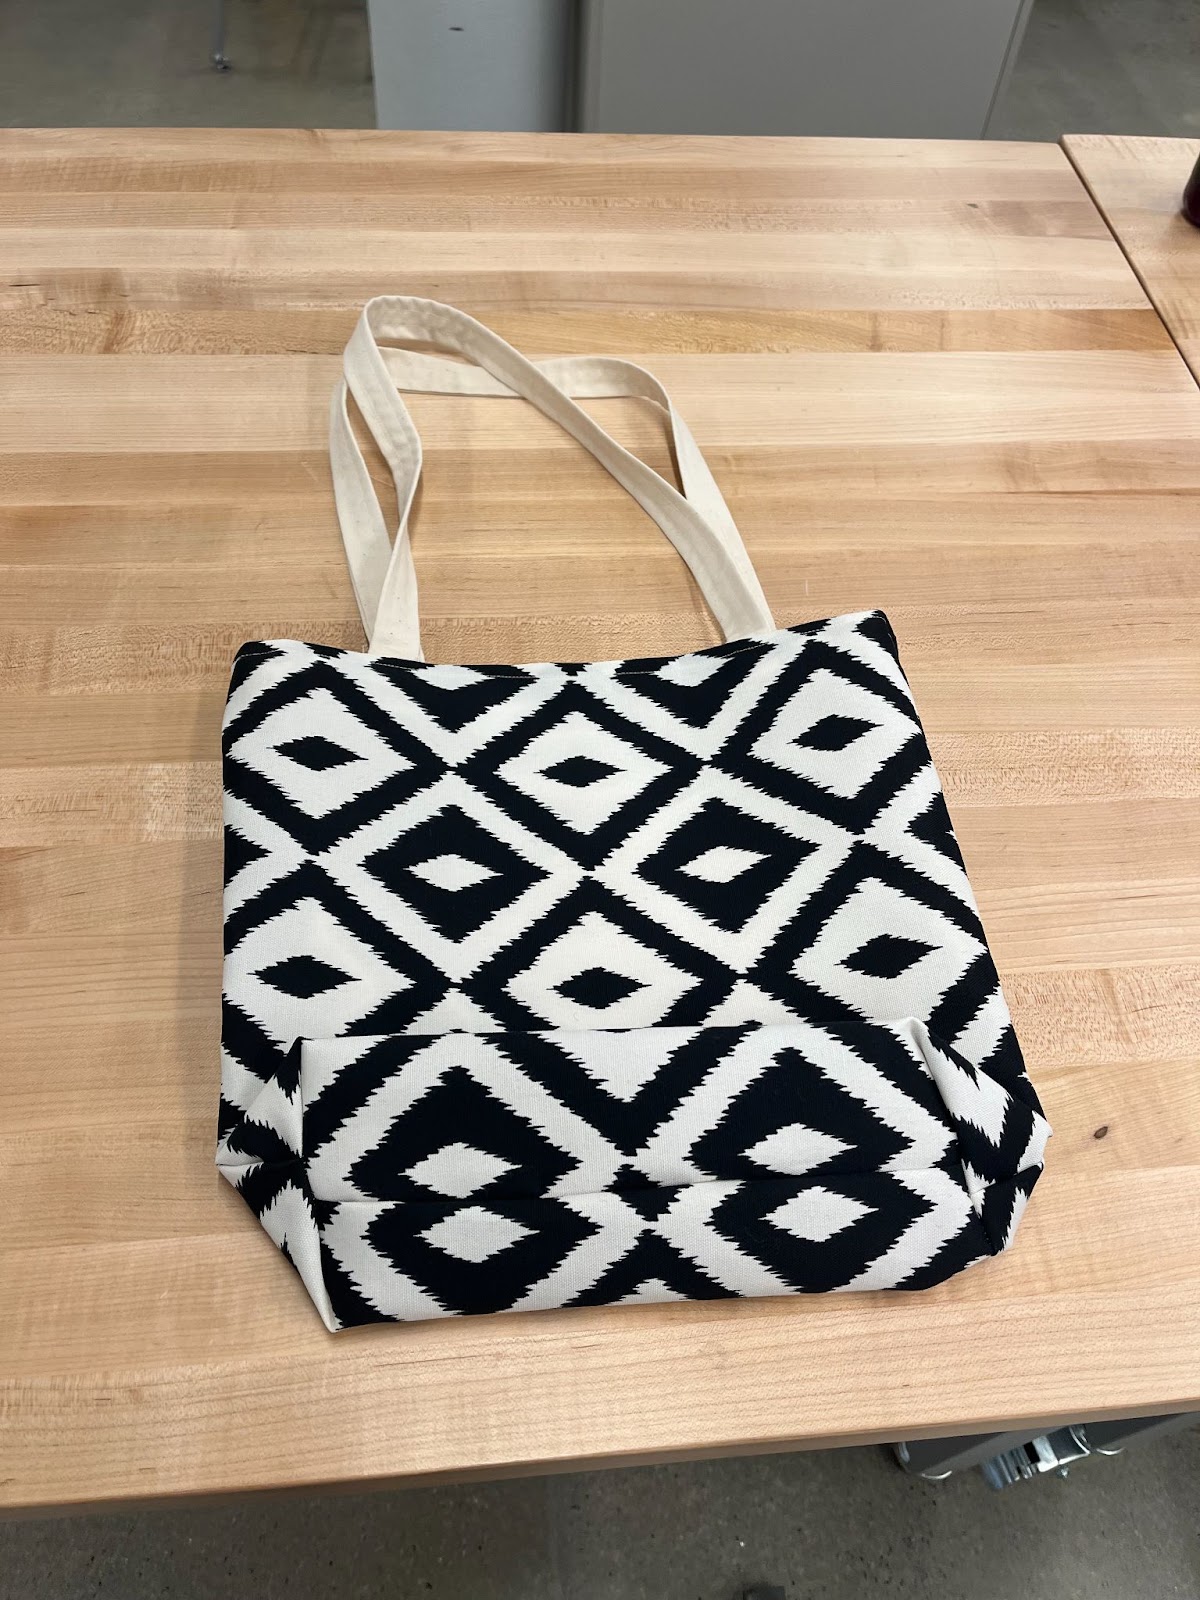
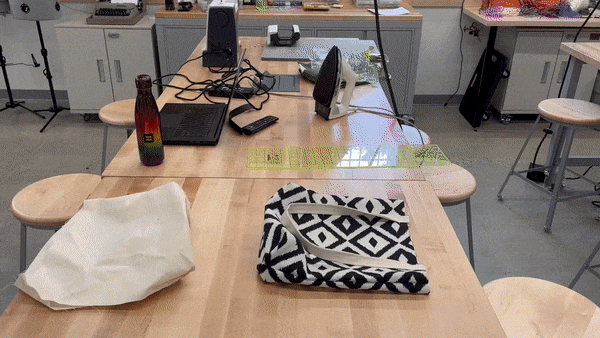
- By the end of this tutorial, you will have your very own tote bag that looks like this
- Preparing Your Materials
- What you need:
- Cutting the Fabric
- Sewing the Bag Together
- Sewing the Linings Together
- Boxing the Corners
- Making the Straps
- Sewing on the Straps
- Finishing the Bag
- Congratulations!! You just created your very own Tote Bag!!
By the end of this tutorial, you will have your very own tote bag that looks like this
/w=1920,quality=90,fit=scale-down)
/w=1920,quality=90,fit=scale-down)
/w=1920,quality=90,fit=scale-down)
Preparing Your Materials
What you need:
For this tote bag, you will need to have or have access to:
- Iron and Ironing board
- Rotary cutter preferably, but can technically use fabric scissors
- Cutting board
- Fabric ruler
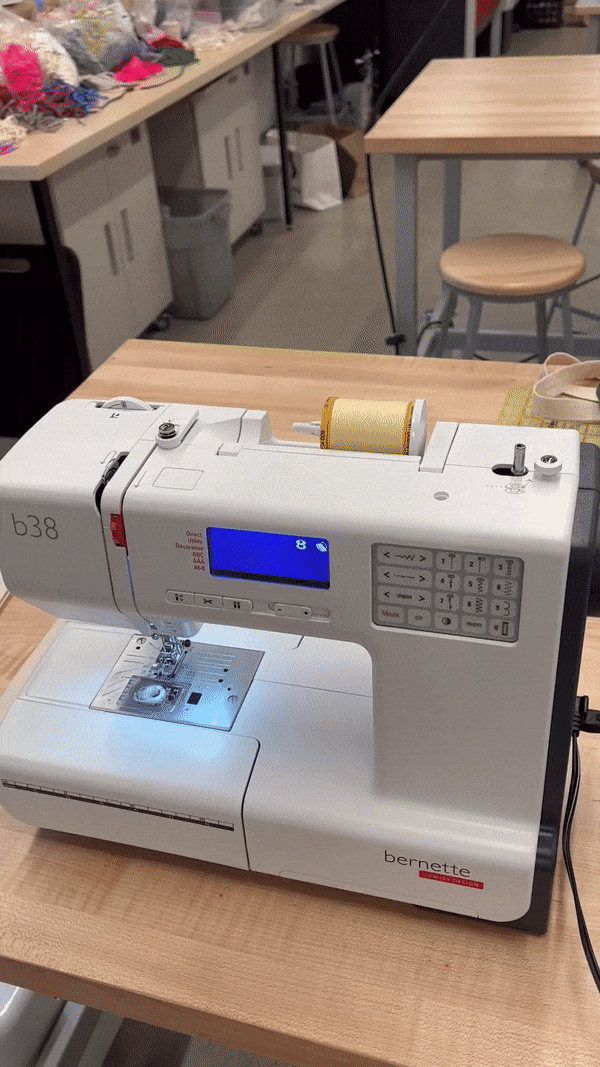
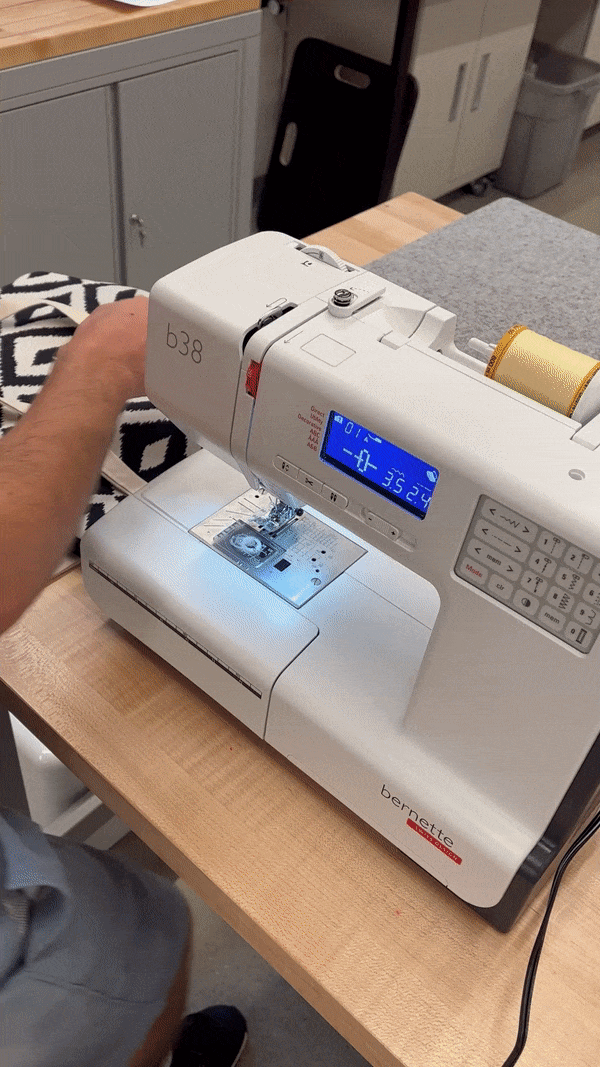
- Sewing machine
- Around a dozen clips or pins
- Writing utensil
- Fabric. Each piece can be out of the same fabric, or you could have it be different for inner/outer lining - will be shown how to cut
- Two 16x16 in. piece of fabric for outer lining
- Two 16x16 in. piece of fabric for inner lining
- Two 28x4 pieces of fabric for straps.
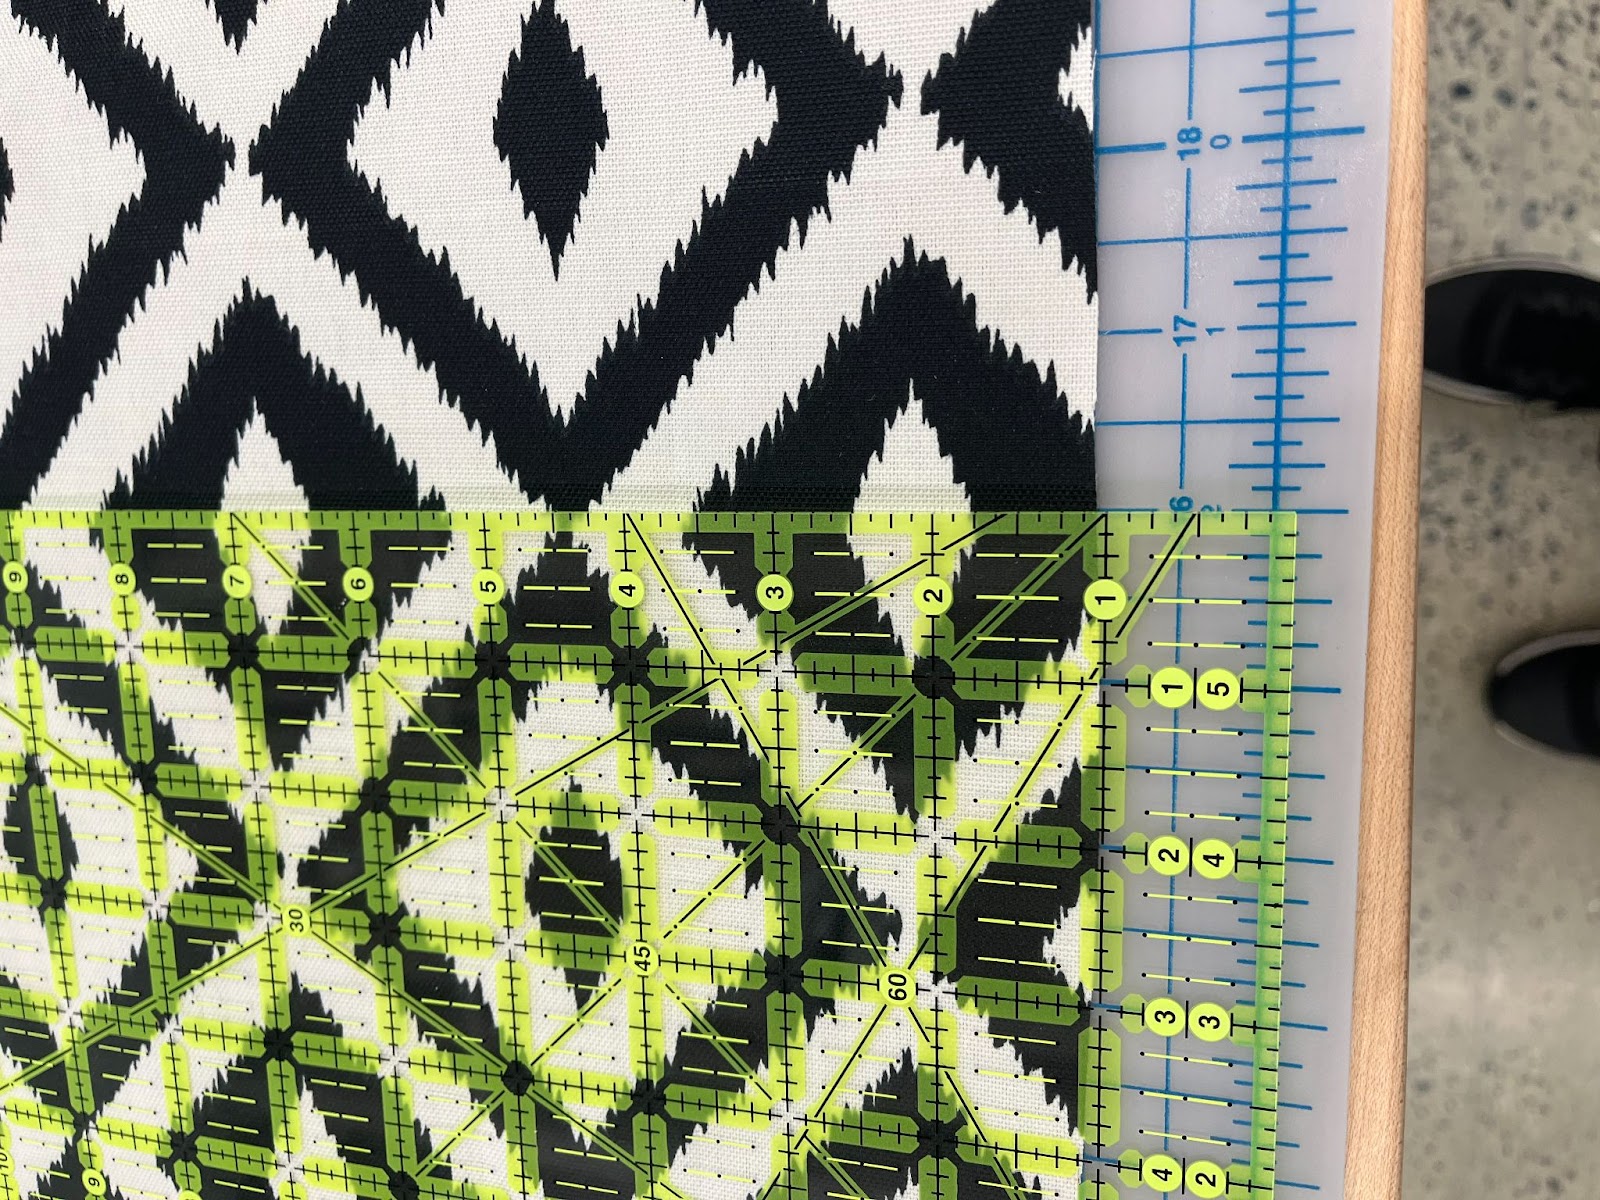
Cutting the Fabric
- Cut the outer lining 16x16” piece. Here, I am using a black and white fabric for the outer lining.
- First, position the fabric so that the bottom corner is lined up with 0,0 on the cutting board.
- Take the fabric ruler and place it over the 16” on the cutting board making sure it is perfectly perpendicular to the horizontal line on the cutting board.
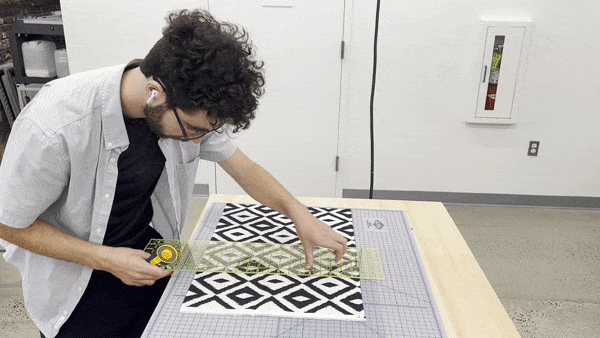
- Take your rotary cutter and after revealing the blade, cut all the way through to the end of the fabric. The best way to use the rotary cutter is to press the side of the blade against the fabric ruler and have your other hand on the fabric ruler so that it stays in place. Apply pressure and roll it through the entire piece of fabric. If you don’t apply enough pressure, there will most likely be some parts that are not cut. Just cut them again until there is a smooth cut through the piece of fabric. It may be helpful to bring your hand up on the fabric ruler as you cut so that the ruler stays still. Make sure to push up on the safety of the rotary cutter after you use it. It is very sharp and easy to cut yourself.
- Take the newly cut 16” piece of fabric and rotate it so that now the height of the fabric is 16” and the width is longer than 16”.
- Place your fabric ruler on the 16” mark again, making sure that it is straight. A good way to check is if the top of the ruler is on the same line as the bottom of the ruler on the cutting board.
- Use the rotary cutter to cut again on the 16” line so that now the piece of fabric is 16x16 in.
- Repeat this to get another 16x16 in. piece of fabric.
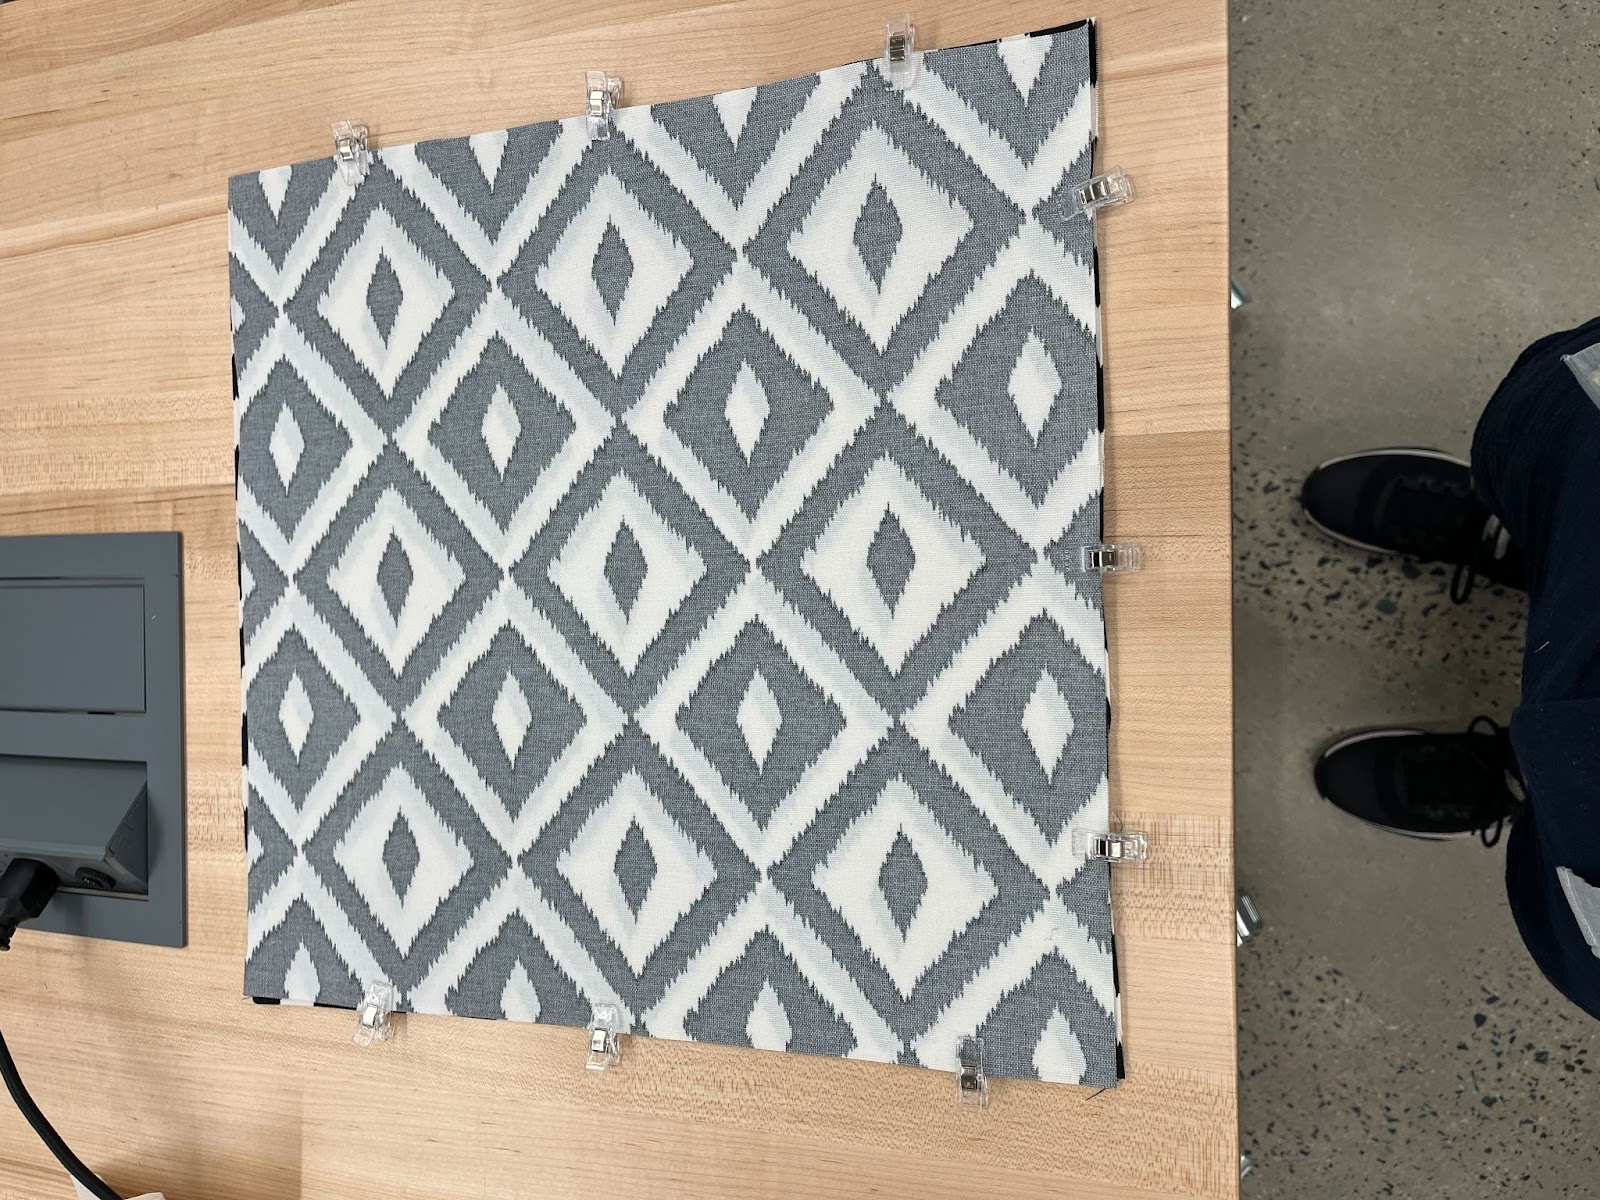
- Using the same steps as before, cut another two pieces of 16x16 fabric for the inner lining. Here muslin is used as the material which comes in a bolt - where there are two layers of fabric folded over.
- For the straps, you can use premade straps or make your own. If you are using premade straps, ignore the strap making steps. If not, using similar steps as before, cut two 4x28in. pieces of fabric for the straps.
- Now you have all of your materials in order to make your tote bag!


Sewing the Bag Together
Sewing the Linings Together
- Make sure that your upper and lower thread are the same color and also a similar color to the fabric you’re using so that the thread is not very visible.
- First, iron both of your outer linings so that they have no wrinkles in them.
- Place the outer linings over each other so that the pretty sides - the side that you want to be on the outside of the bag - are both facing inwards.
- Clip three sides of the outer lining to keep it in place.

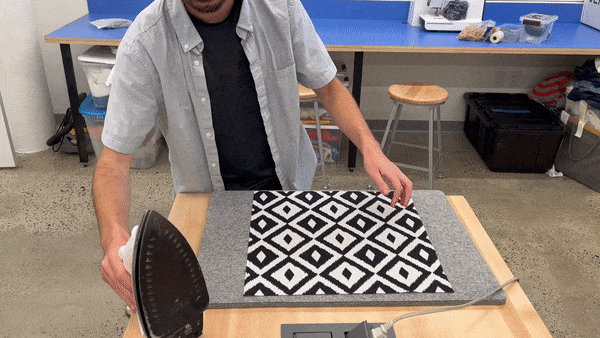
- Starting and ending with a backstitch, sew the three clipped sides together taking out the clips just before the presser foot would hit them.

- Now, for the inner lining, iron both of your inner linings so they have no wrinkles.
- Lay them over each other, and if they have a pretty side, make sure that it is facing inwards.
- Clip three sides together, but leave a 5-6” gap on the third side.
- Starting and ending with a backstitch, sew the three clipped sides together with a ½” to ⅝” seam allowance, but don’t sew the 5-6” gap together. End the stitch before the gap and start it again after.
Boxing the Corners
- For the inner lining, go to the corner and put your hand through so that the corner of the inner lining is flat and looks like a triangle.
- Make sure the seam allowances are both going in the same direction so that they are lying flat over both the front and backside of the triangle.
- Clip the corner down so that it holds its shape.
- Using your fabric ruler, find a spot where the edge of the corner is exactly 4” across. To make sure the line is angled flat, make sure the already sewed line is on the 2” mark. Using a pencil or pen. draw a line across that spot.

- Clip below the newly drawn line so that it holds its shape

- Starting and ending with a backstitch, sew on that drawn line, making sure that the seam allowances are flat on both sides.
- Using either a rotary cutter or fabric scissors, cut the corner around .25” above the sewn line.

- Repeat for both corners on both the inner and outer lining. You can also do these steps in any order, such as drawing the line and clipping on every corner before sewing or cutting anything, it is personal preference.
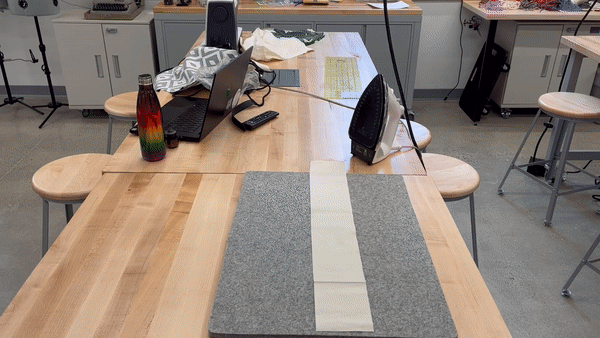
Making the Straps
- If you are using premade straps, skip these steps and go to Sewing on the Straps
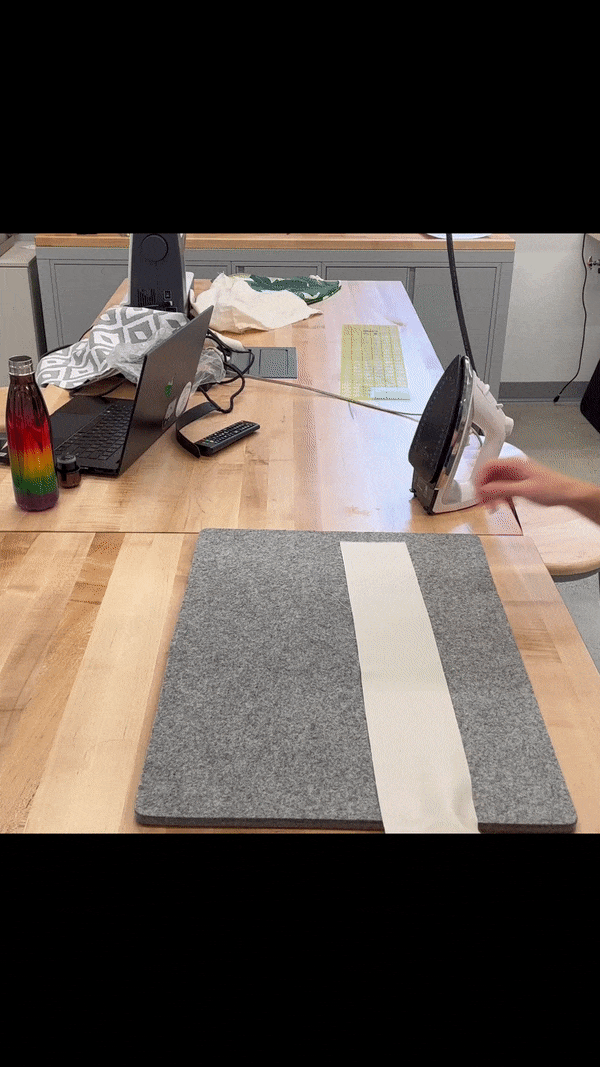
- Get your iron and ironing board and make sure your iron is set to the right setting. If you are not sure, find what material your fabric is made of and use this website to find out.
- Iron one 4x28 strap so that it has no wrinkles
4. Fold it in half the long way and then iron it so that it folds down the middle. If you are having trouble with it folding while ironing, clip it down the middle first, then iron.
- Unfold the strap and then fold each half of the strap in half so that the left and right edge of the strap now lies on the middle line we ironed in step 3. The folds will most likely not stay by themselves, so clip the folds in place.
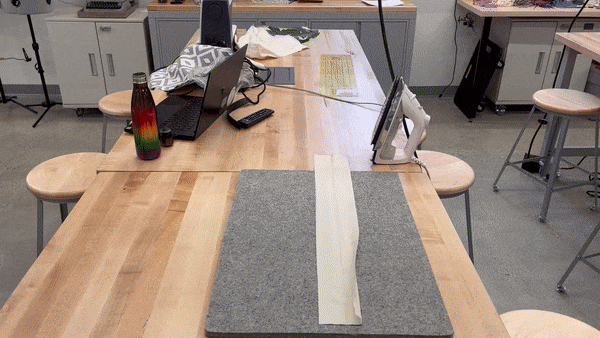
- Iron the strap again so that the folds stay in place. Remove the clips as you iron so you don’t iron over them.
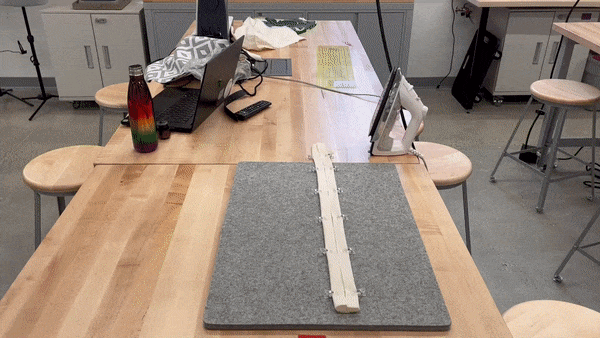
- Fold the two folded halves over each other so that the strap is now a quarter of the original size and you can see none of the original edges. Clip and then iron.
- Need a video of folding and clipping.

- Now it’s time to sew the strap together. Starting and stopping with a backstitch, sew a straight line down one side of the strap with 0.25”. seam allowance. Basically have the edge of your strap be directly under the edge of the presser foot. Then sew down the other side of the strap with 0.25”.
- Repeat steps 2-8 for the second strap.
Sewing on the Straps
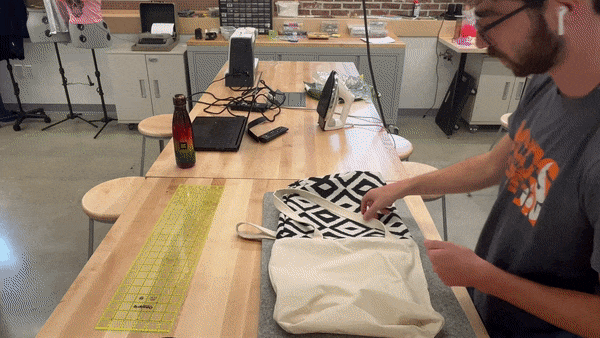
- Unfold the outer lining and make sure that everything is flat and outwards.

- Using your ruler, find the place 3” away from the middle crease of the outer lining. Make sure a strap is flat and place it with the side of the strap on that 3” line and the top of the strap a little above the top of the lining, around .25”
- Clip the strap in place making sure you only clip the strap to the top layer of the lining, not both.
- Making sure the strap isn’t twisted, place the end of the strap 3” away from the middle crease on the other side of the lining with the top of the strap around .25” above the top of the lining. Clip in place.
- Flip the lining around and repeat steps 2-4 with the other strap.
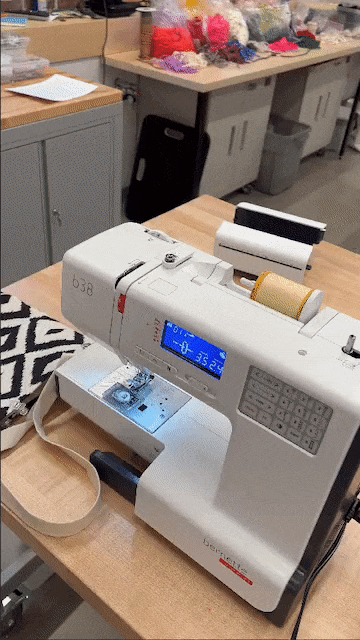
- Using a little bit of force, pull the bottom off of the sewing machine to make it easier to sew on the straps
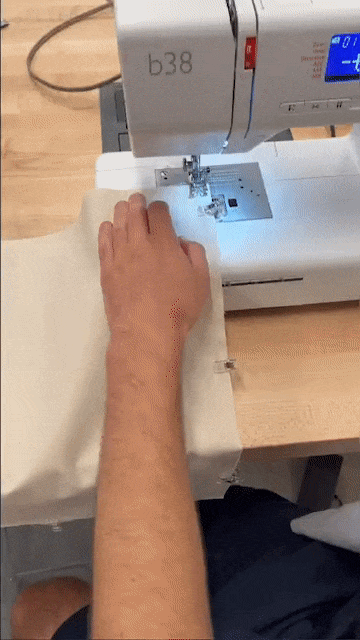
- Placing only one side of the bag on the sewing machine, starting and ending with a backstitch, and starting to sew a little before the strap, Sew over the entire strap and end a little after the strap ends. Sew this around .5” below the top of the lining

- Repeat this for each end of the strap on both sides of the lining.
- Cut any loose threads to clean up the bag.
- You’re almost done, your bag should look like this

Finishing the Bag
- Put the inner lining into the outer lining, making sure the corners and tops of the linings are aligned.
- Iron the top of the linings, and clip them together. If you want, you can clip them so the outer lining is slightly above the inner lining which makes the inner lining less visible.
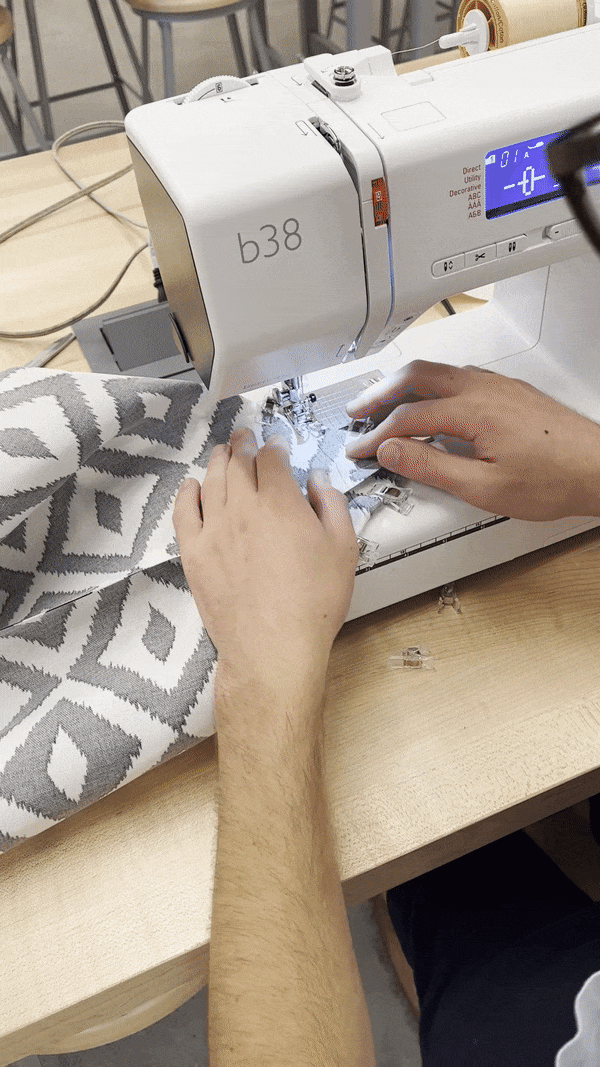
- Starting and ending with a backstitch, sew around the top of the bag leaving a .25” seam allowance. Make sure the seam allowances of the sides of the inner lining are facing opposite directions so it is more uniform. The fabric may bunch up at the end, just sew over it.

- Pull the outer lining through the 5-6” hole you made earlier in the inner lining.
- Fold the seam allowances on the 5-6” hole and clip it in place.

- Starting and ending with a backstitch, sew down the seam allowances with a .25” seam allowance to close up the hole.

- Put the inner lining back inside the outer lining. Make sure the corners and the seam allowances of the linings line up.
- Iron both sides so that the bag is flat and clip the top of the bag.
- Sew around the top of the bag with a .25” seam allowance. At the end, the fabric may bunch up, just sew over it.
Congratulations!! You just created your very own Tote Bag!!