
Do you have a hand-drawn design that you want to laser-cut, but don’t want to deal with the hassle of converting it to a digital file? Have no fear! The Glowforge is able to take a photo of your hand-drawn designs and convert them into digital files, so that you can go from sketch to cut in a matter of minutes! Follow the steps below, and you’ll have your new laser-cut treasure in no time.
In this Tutorial you will learn Adobe Illustrator design basics for the Glowforge Laser Cutter:
Getting Started having a mouse will be helpful! *Control + Z is undo!
Video Demo
Want to see what this is all about? Take a look at this video before you begin!
Setting Up Your Working Environment
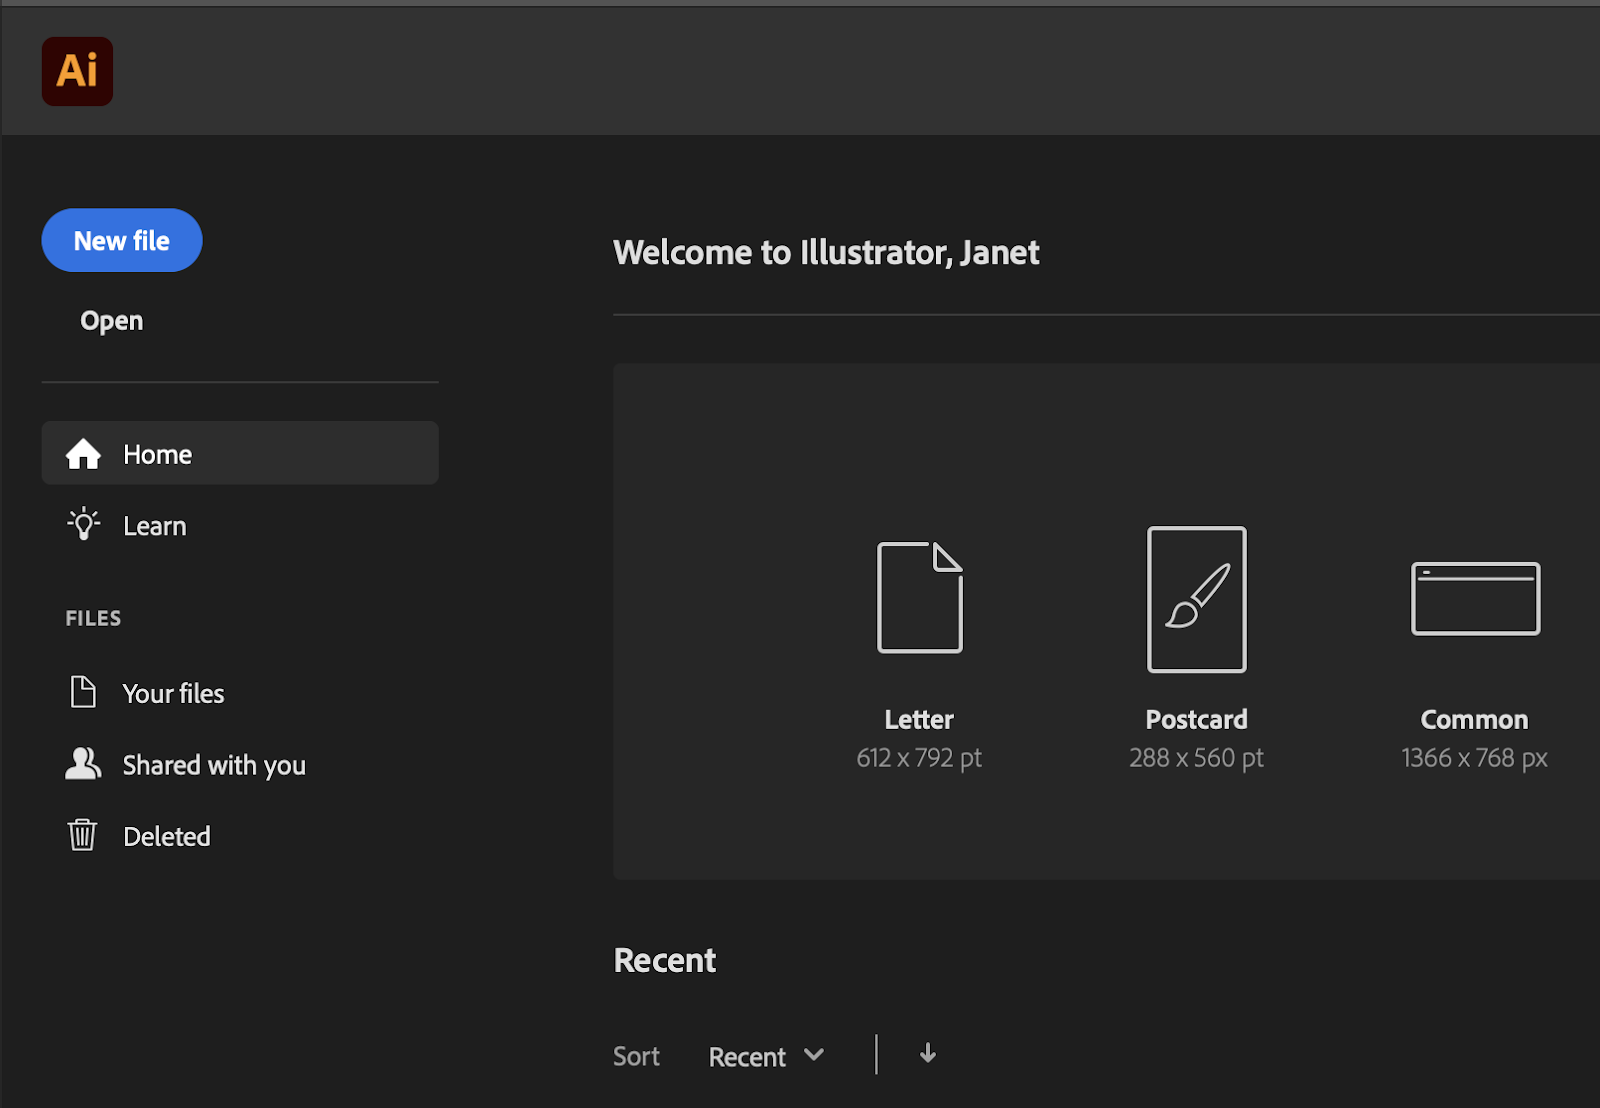
- Laptops will be ‘ready to go’ with Adobe Illustrator, just open the App:
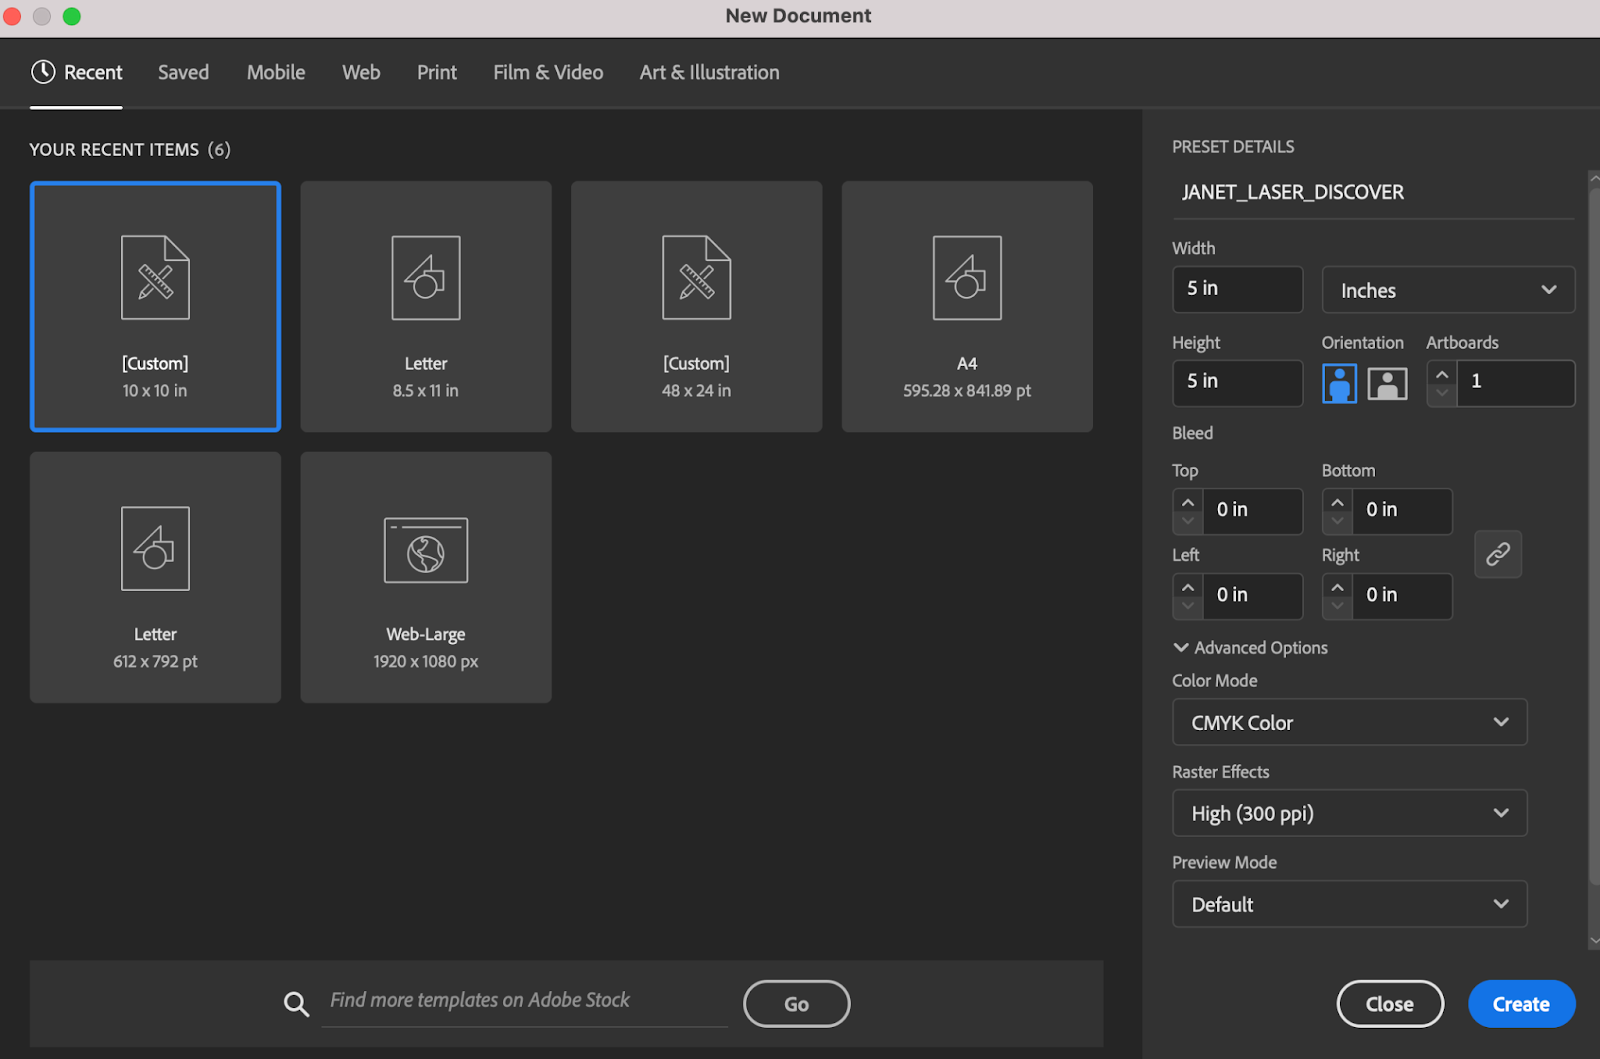
- On Right Side: Change Untitled to: YourName_Laser_YourClass
Change PIXELS to INCHES
Change Width: 5 in and Height: 5 in (this is the size of the “artboard” or canvas you will design on)
Select Create
- Along top bar: Window > Workspace > Automation

Creating Your Name Tag
Making the Base
Along the Left Panel there are drawing options. Each option has more tools within; left click & hold to see.
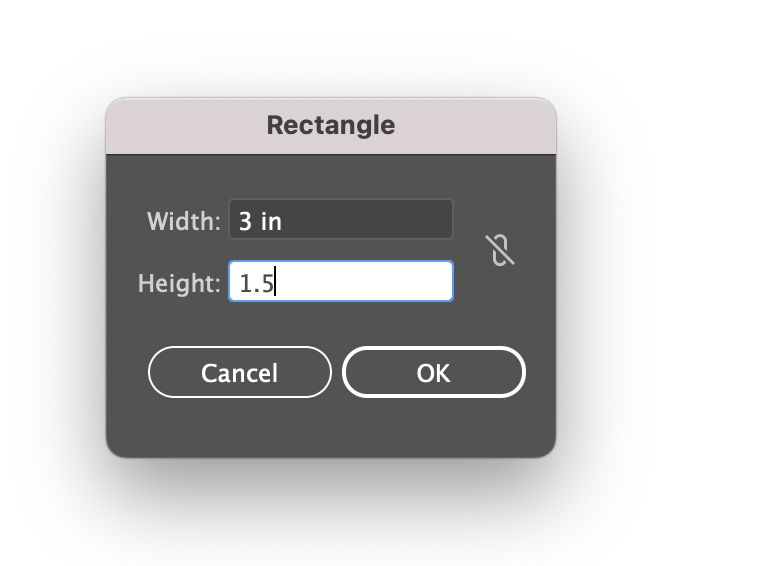
- Select ‘rectangle’ and simply CLICK onto your artboard.
- Set your dimensions at Width: 3 in Height: 1.5 in

- To Round the corners of your keychain click & drag inwards on any of the blue circles in the corners:

- To Change Fill or Stroke, find the settings in the top left corner. Select the drop down and mess around with color and stroke size.

PRO-TIP: If your rectangle (or shape) appears as a SOLID black box and you want it to be outlined you need to make the FILL none (red bar) and the STROKE black 1pt. Two ways to do that:
- Now, we have to add a circle. Right click on the shapes tool and select the circle. Now click down and draw your circle. Press down on your shift button at the same time to keep the shape even.

Adding Text
- Select the Text Tool ‘T’ from the left panel and simply CLICK on your artboard and start typing

Modify the Size and the Font:
- Size: use the Selection tool to select the text at a corner, hold SHIFT, and scale up or down
- Font: Select a font along the top bar as shown:
Alternate Way: you can also adjust the font size along the top bar

Convert the Font to a Shape:
- Right click on text and select Create Outlines
Alternate way: Select text then Object > Expand (check Stroke and Fill and select okay)

*** Important step! Glowforge will not recognize text as a font, but will recognize text as a shape. It will no longer be something you can edit after you create outlines, so spell check first!
Adding Shapes
- Adding other Shapes: Click and HOLD the ellipse/rectangle button in the left panel to see other shape options

- For a star, you can click on your artboard and experiment with different numbers of points.
- Once you have placed your shape, you can adjust size with the Selection tool

Brush Tool
This tool allows you to draw and paint freehand.
Pen Tool and Curvature Tool: allow you to draw in different ways (explore to find out!) and remember Control Z to undo.
