CNC Machining Gomuban, a Relief Printing Substrate

CNC Machining Gomuban, a Relief Printing Substrate

Tags
CNC millmachiningstampsnomad 3
Date
March 18, 2024
Class
Author
Z
Zach
Class Section
Documentation Type
tutorial

If you want to make professional-quality relief prints, you should consider using a terrific material we learned of recently (thanks Barbara!) called Gomuban. It’s not particularly cheap, but the green side holds a sharp edge quite well, deforming minimally even when used in a press. It is easy to carve by hand with printmaking tools. We wanted to try using it in the sketch-to-stamp workflow we perfected at Haystack which uses linoleum blocks and a desktop mill.

Traditional rotating-bit machining isn’t a great process for flexible and squishy materials. We ran a few tests on stamp rubber months ago and found it tends to deform around the end mill as it cuts, producing some chips but also resulting in an inconsistent edge with overhangs and fussy flaps that don’t clean up easily. Unfortunately, a first test of Gomuban using linoleum-friendly machining parameters produced a similar result.
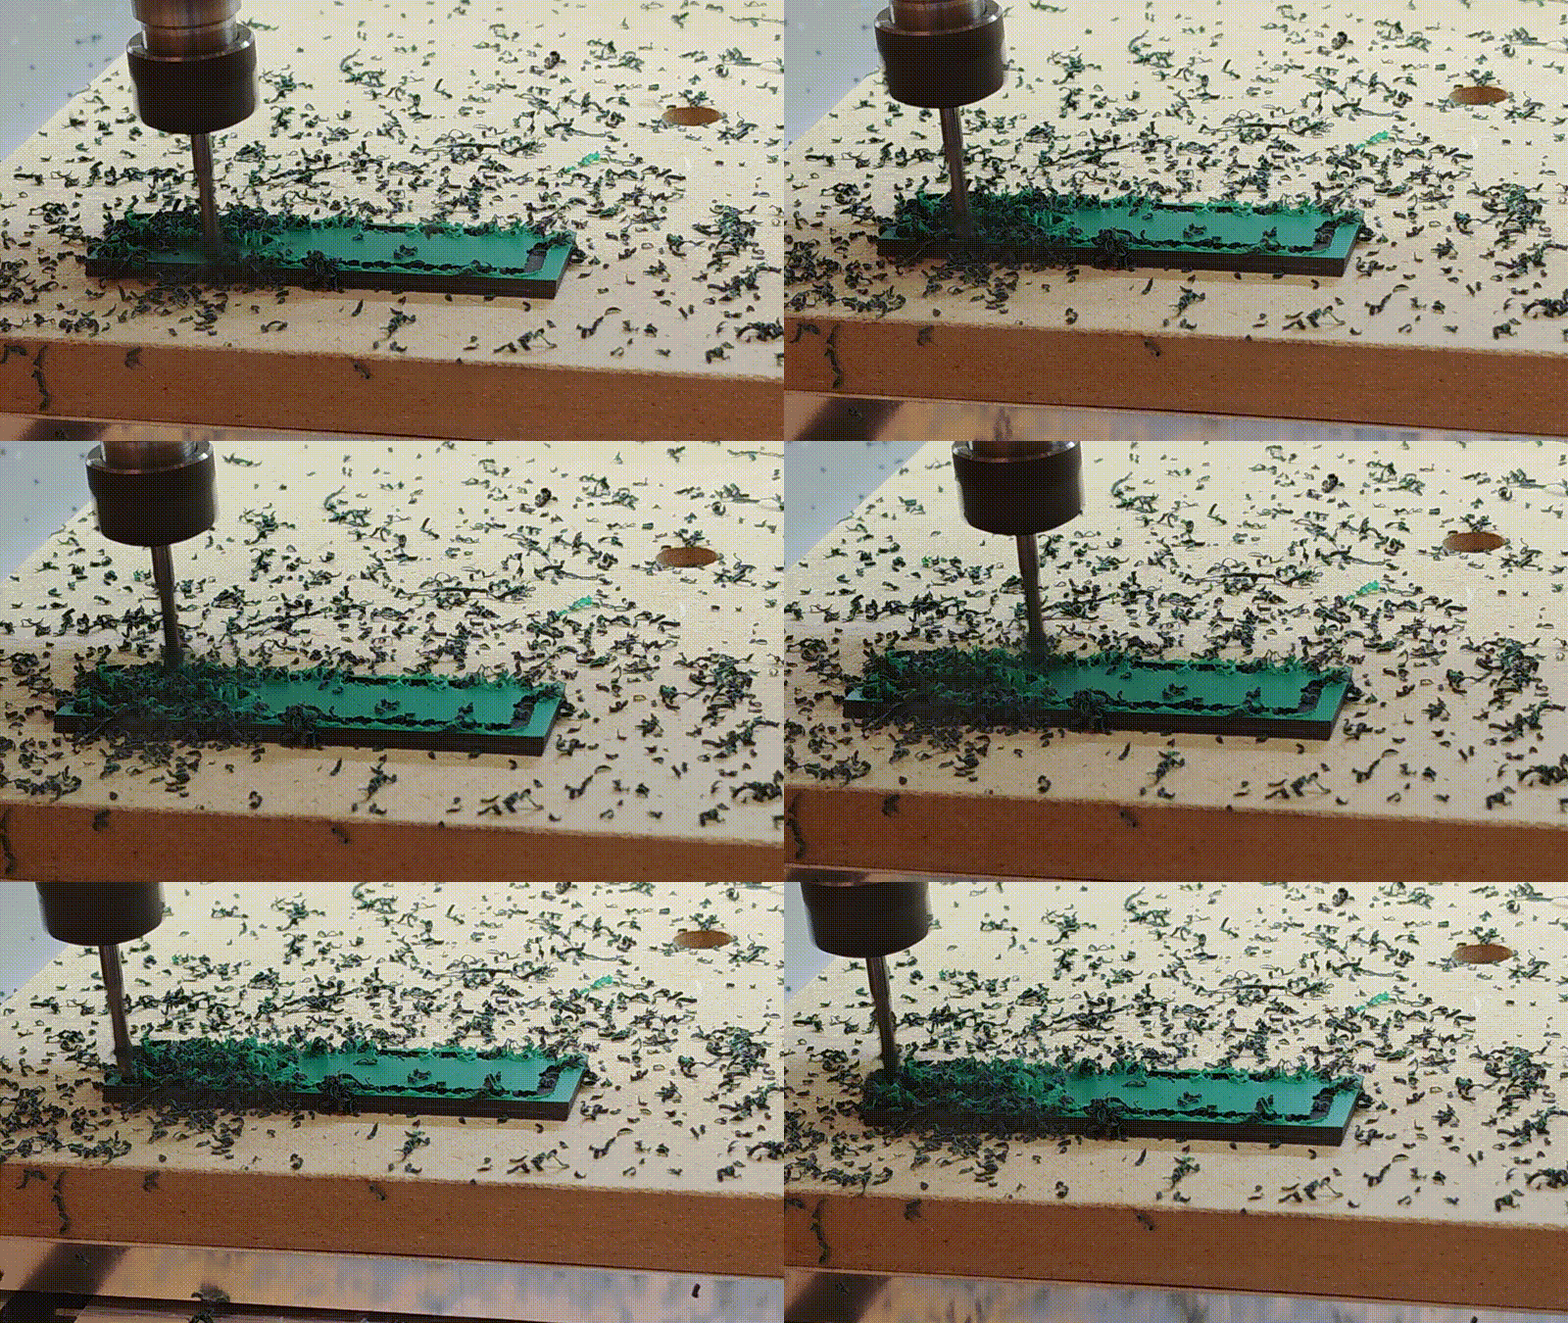
above and below, a first test of Gomuban machining using a 1/8” and 1/32” flat end mill. 10 mm/s feed, 5 mm/s plunge, 10k RPM, 0.5 mm depth of cut, 50% stepover, not great results.
image

I made a quick G-code file to produce a series of lines at varying depths, thinking perhaps the depth of cut could be moderated to reduce tearing, particularly in the crucial green layer. The first chunk initializes the machine, turns on the spindle, and sets the coordinate system, while each subsequent 4-line block lifts the spindle to Z +3 mm, fast-traverses to Y +2 mm and an increasing X value, drops the Z-axis in 50 µm increments, and machines a 20 mm long line in the Y+ direction:

%
G17
G21
G40
(G49)
G54
(G80)
G90
G94
F600
S10000
G00Z3.0000
M03

G00Z3
G00X2Y2
G01Z-0.05
G01Y20

G00Z3
G00X4Y2
G01Z-0.1
G01Y20

G00Z3
G00X6Y2
G01Z-0.15
G01Y20

G00Z3
G00X8Y2
G01Z-0.2
G01Y20

G00Z3
G00X10Y2
G01Z-0.25
G01Y20

G00Z3
G00X12Y2
G01Z-0.3
G01Y20

G00Z3
G00X14Y2
G01Z-0.35
G01Y20

G00Z3.0000
G00X0.0000Y0.0000Z3.0000
M05
M30
%

Then I tried the file a few times with different mills. I noticed that the Z-zero point seemed a bit off on the first two runs; I think the zeroing probe compressed the material a bit and gave a false reading, so I manually re-zeroed for the latter two by turning the spindle on and manually jogging the Z-axis down until I observed contact.

above, test lines machined in groups of seven, starting at Z -0.05 mm and proceeding to Z -0.35 mm. From left to right, a 1/32” flat end mill, a 1/16” ball end mill, a 1/16” ball end mill with the zero point manually reset before starting, and a 40 degree taper engraving bit. While the ball mill results are encouraging, there is still significant “fuzzing” at the edges. All tests were conducted at 10k RPM and 10 mm/s feed.

Another test with a 1/32” ball mill seemed particularly good; the 0.2 mm and 0.25 mm depth settings (third and second from the right, respectively) seemed promising enough to try on a design:

image

Unfortunately, running the same design at a variety of feed rates didn’t help much; none of these are sharp enough for printing, and they don’t de-fuzz with a stiff brush like linoleum:

above, 1/32” ball end mill at 0.2 mm depth and 10k RPM, running at (left to right) 10 mm/s, 1 mm/s (well, for part of it, then I sped up), 50 mm/s, and 50 mm/s with two 0.1 mm passes.

And then, progress! I tried something I’ve been scheming for awhile: cooling down the substrate to stiffen the plastic up prior to machining. I did this in-situ, by spraying the Gomuban with a few shots from an upside-down duster. Proper freeze spray is a much better idea, both from a consistency and a health perspective, but this worked in a pinch for testing.

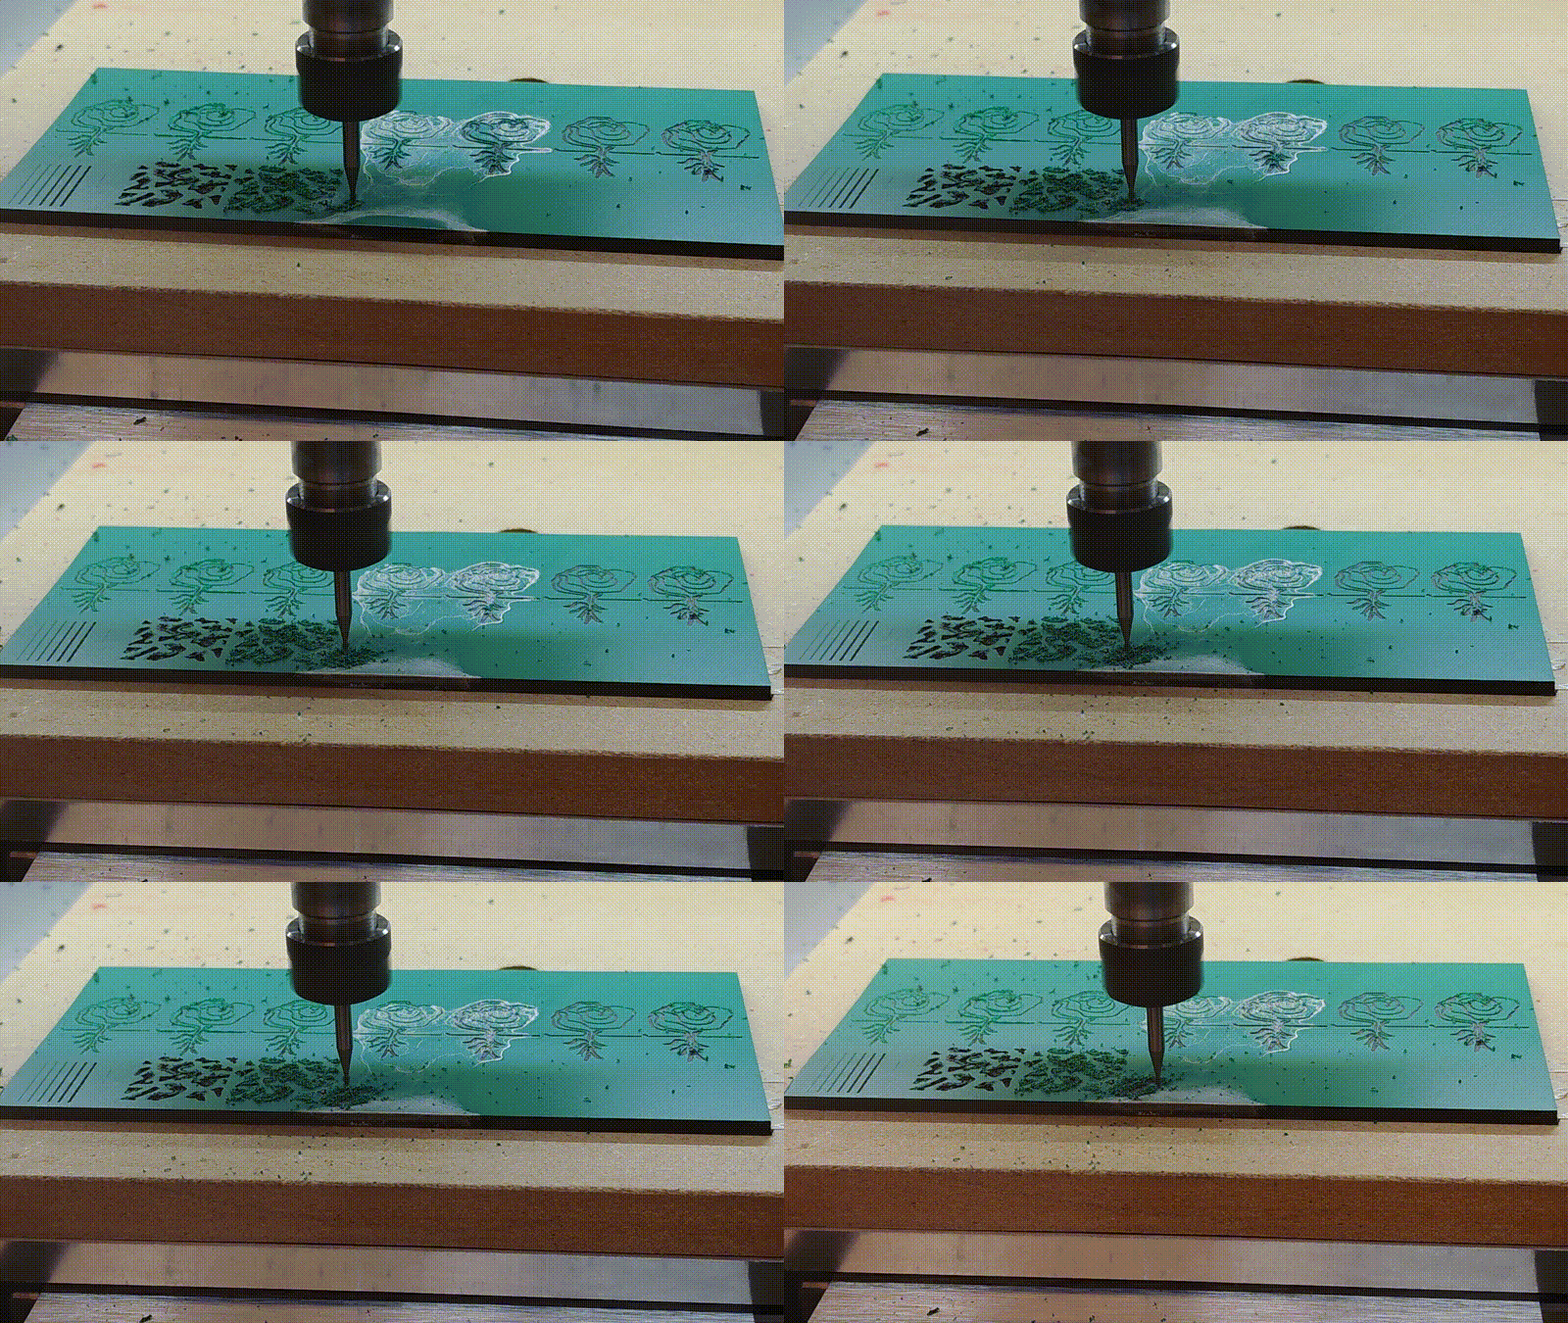
above, the chips are much more powdery when the substrate is chilled prior to machining with freeze spray. Note layer of frost from condensing moisture!
above, freezing the substrate helps edge fuzziness a great deal!

I tried a back-to-back test with one of Barbara’s seal patterns scaled to ~3/4”, using a 1/32” ball mill for the whole operation. Parameters are 0.25 mm (0.01”) depth of cut, one pass, 30% stepover, 20 mm/s feed rate, 5 mm/s plunge, 10k RPM. I still got a tiny bit of fuzzing with a flat end mill, so at the very least it’s probably worth using a ball mill for the first outer pass.

above, identical machining parameters but the right got a spritz of freeze spray before machining.
above, appying freeze spray, which evaporates quickly and should be used with care to avoid frostbite and inhalation. I usually applied a few spurts until it was cold enough for a puddle to form, which then slowly disappeared. Todo: thermography, via camera or temp gun, to get some actual data and see how much time we have before the material heats up too much for milling.
above, freeze-machining a slab of Gomuban. Tiny chips!
above, stamp testing after affixing to a lil chunk o maple. a dead-blow hammer made this extra fun and loud.